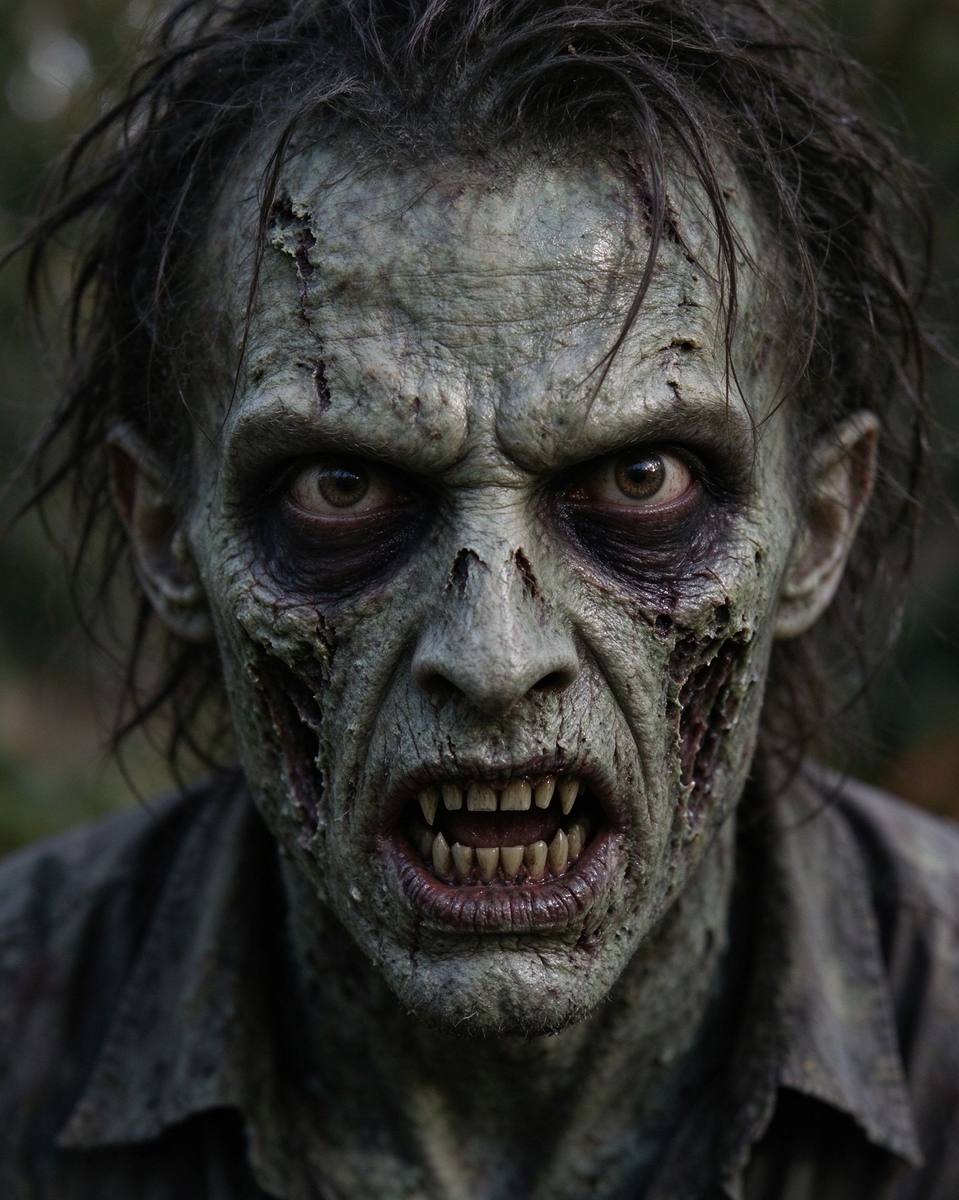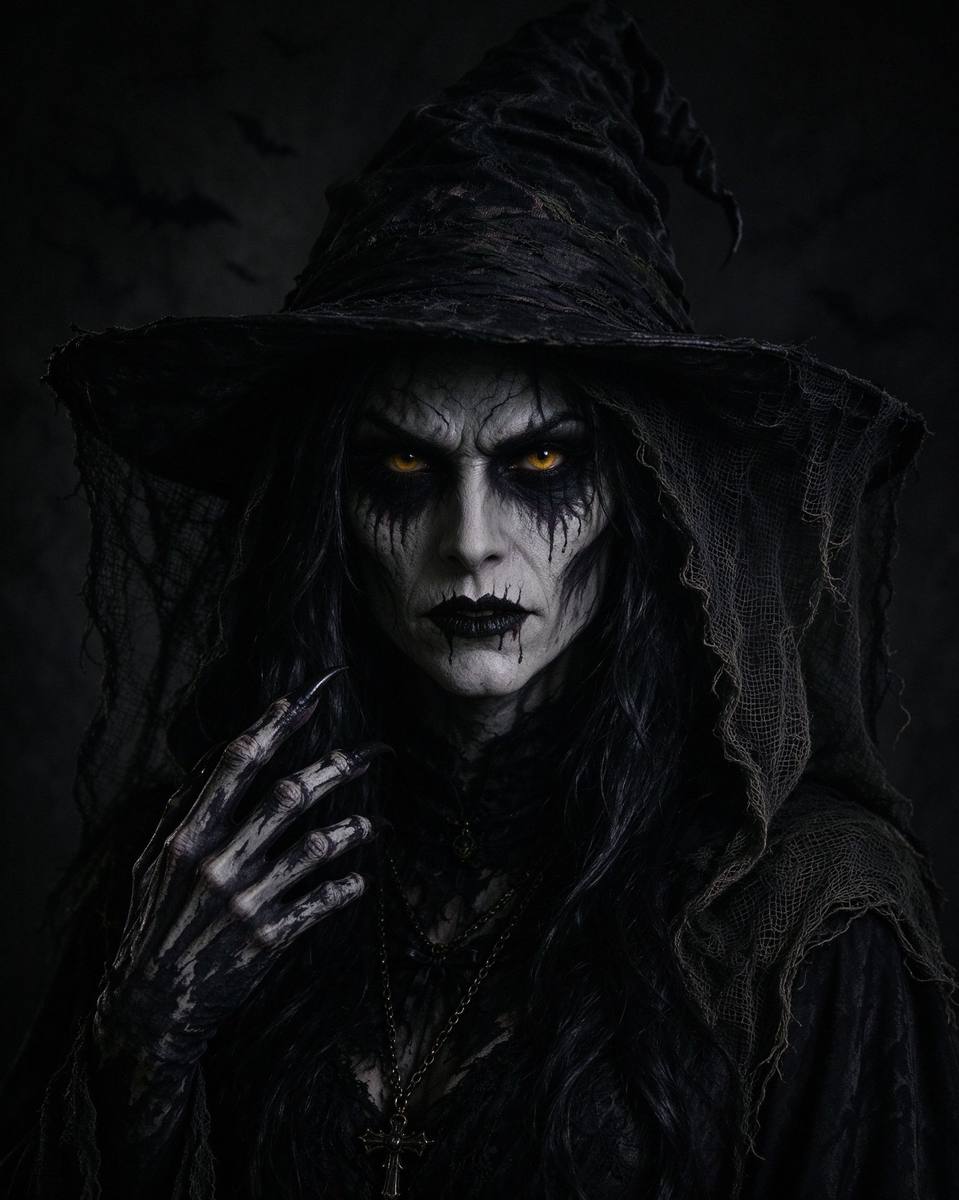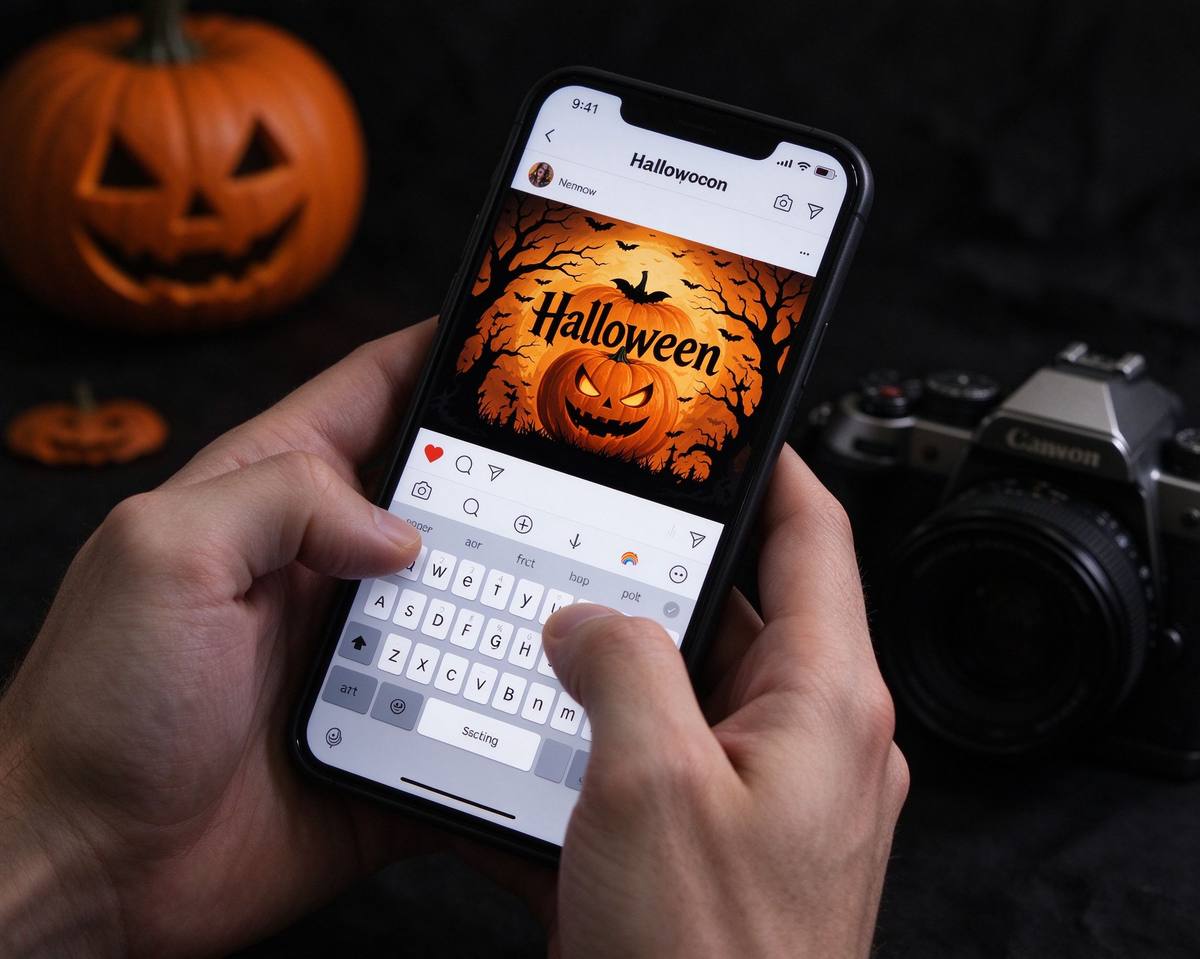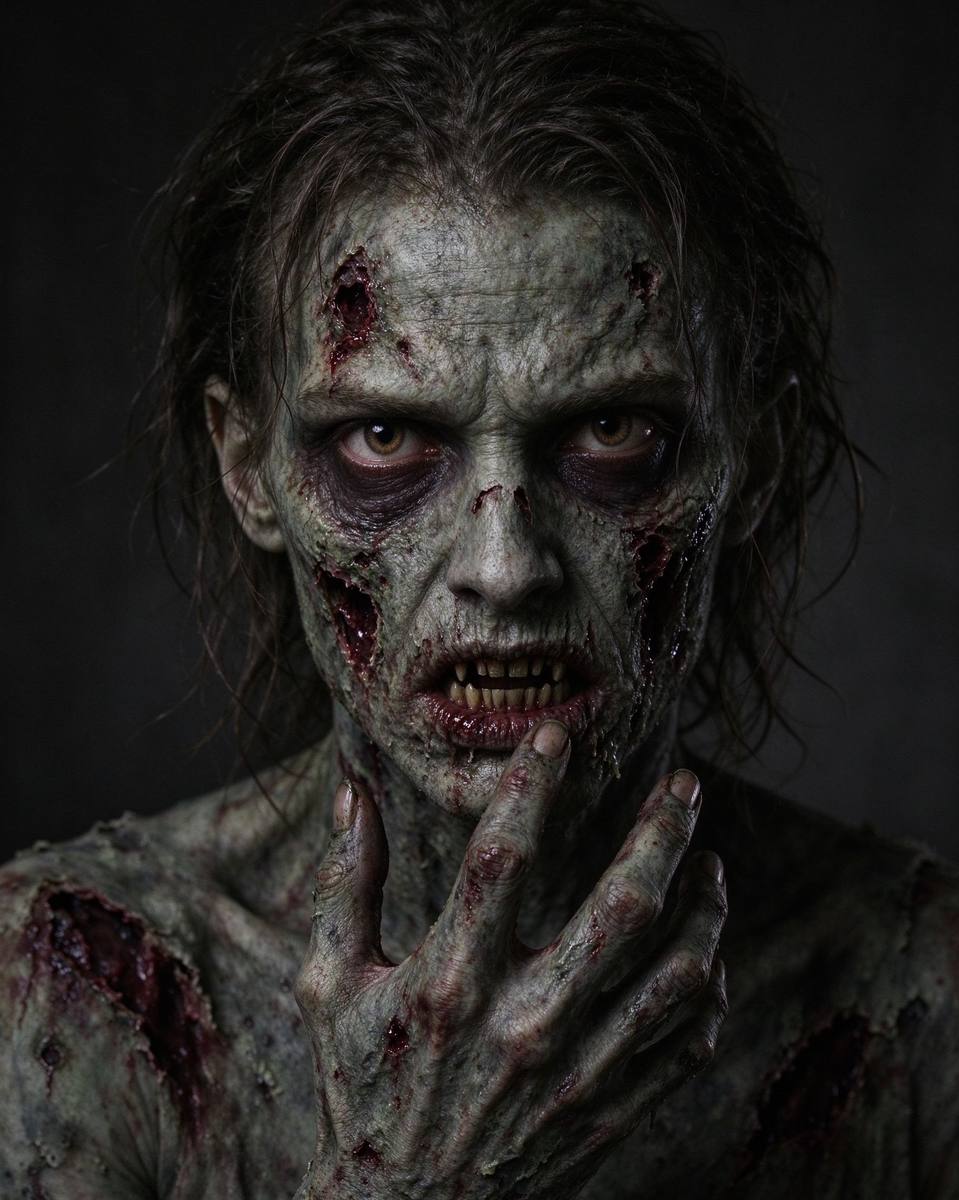
Every October, thousands of people post the same sad status: they dressed up, spent money, and nobody recognized the character. A zombie filter solves that problem in ten seconds — you get a face that is unmistakably Halloween, without makeup, prosthetics or cleanup. In this tutorial you will learn how to make zombie photos, skeleton faces, witch portraits, vampire looks and ghost effects from your own selfies using the free Portrait Effects tool, which runs entirely in your browser.
Why use a photo effect instead of makeup
Halloween makeup is a gamble. A tube of face paint costs as much as a small costume, takes forty minutes to apply, and looks nothing like the tutorial when you are finished. Worse, a large share of the complaints across social platforms are about exactly this: makeup that runs, itches, or simply does not read on camera. A photo effect has three concrete advantages:
- It is free and unlimited. You can try zombie, skeleton, witch, vampire and ghost looks back-to-back and keep the ones you love.
- It is private. The image never leaves your device. No upload, no account, no database of your face.
- It is instant. The whole pipeline — align, apply, download — takes under a minute, including at 2 a.m. the night before Halloween.
The result works perfectly for profile pictures, group chat avatars, costume-competition entries and the annual "guess who this is" game with your friends.
Step 1: Choose a good source photo
The quality of the output depends mostly on the input. These four rules make the difference between a convincing zombie and a painted sticker:
- Front-facing and well-lit. Even, natural light beats dramatic shadows for this tool, because the overlays are positioned from the eyes and mouth.
- Face width of at least 300 pixels. A selfie taken at arm's length is ideal. If the face is tiny in the frame, crop it before uploading.
- Look straight at the camera. Profiles and extreme angles confuse the eye and mouth points. A slight head tilt is fine.
- No heavy glasses or bangs covering the eyes. The skeleton and ghost effects draw their sockets over your actual eyes, so keep them visible.
Do not have a suitable photo at hand? The tool ships with a sample portrait so you can explore every effect before committing your own face.
Step 2: Align the three dots — this is the real skill
This is the single most important technique in the whole tutorial. After you upload a photo, three orange dots appear. Drag them so that:
- the left dot sits in the center of your left eye;
- the right dot sits in the center of your right eye;
- the bottom dot sits in the middle of your lips.
Everything the effect draws — eye sockets, teeth, hats, fangs, wounds — is computed from those three points. When they are accurate, the effect looks like it was painted on your face; when they are off, the skull floats and the fangs miss the mouth. Two seconds of dragging saves you a laughable result.
Pro tip: zoom the photo mentally by looking at the corners of your eyes. The dot should cover the pupil, not the eyebrow. For the mouth dot, aim between your lips, not below them.
Step 3: Pick, tune and download
Six effects are available, each with its own personality:
- Zombie — green desaturated skin, sunken eyes, stitched cheek and a blood drip. The crowd favorite.
- Skeleton — high-contrast skull with sockets, nasal cavity and a full set of teeth.
- Witch — green-tinted skin, a tall hat and a classic wart.
- Vampire — pale skin, glowing eyes, dark lips and two sharp fangs.
- Ghost — a translucent white face with hollow eyes and mouth.
- Pumpkin King — warm orange skin with a carved jack-o'-lantern face.
The intensity slider blends the effect from subtle to full, which is great when you want a "hint of zombie" for a family-friendly photo. The show original toggle lets you compare before and after instantly. When you are happy, hit download — the result is a full-resolution PNG with no watermark, yours to keep and share.
Where to use your new zombie photo
A single effect photo can feed an entire week of Halloween content. Here are the ideas our readers use most:
- Swap your profile picture across X, Instagram and Discord for the season — use the Avatar Generator to get every platform size right.
- Send the photo to your group chat as a reaction image whenever someone is dramatic.
- Print it and stick it to your door as a mini "this house is haunted" sign.
- Pair it with a caption from our Halloween Caption Generator — "I woke up like this" never gets old.
- Make matching versions for your pet with the Pet Halloween Costume Maker for a duo costume post.
Frequently asked questions
Do I need to know how to use Photoshop?
No. The tool is one page: upload, align, choose, download. There is no layer panel, no masking, no jargon — which is precisely the point.
Will the effect look fake on a group photo?
It works on any face in the frame; just align the dots on the person you want transformed. For group shots, one transformed face among many often looks best — the "one of these people is a zombie" game.
Can I use the image commercially?
The output is created from your own photo, so you control it. If the photo includes other people, make sure you have their permission before posting or selling anything.
中文要点摘要(Chinese key points)
教程核心:用免费的人像特效工具把自拍变成僵尸/骷髅/女巫/吸血鬼/幽灵/南瓜王照片,全程浏览器本地运行、不注册、无水印。
三个步骤:①选好照片(正面、光线均匀、脸部至少300像素宽、眼睛不被遮挡);②拖动3个橙色圆点精确对齐左右眼瞳孔与嘴唇中心(这是效果真实与否的关键);③选特效、调强度、开关原图对比、下载PNG。
用途建议:换社交头像(配合头像生成器适配各平台尺寸)、做群聊表情包、打印贴门、配文案生成器的标语发布、给宠物也做一张凑成CP图。
Go make something spooky
You now know the one skill that matters: aligning the dots. Everything else the tool handles for you. Open the Portrait Effects tool, upload a selfie, and see what you look like as a skeleton. Then, when you are ready to level up, read our guide to writing the perfect AI art prompt for Halloween or the tour of what is possible in AI Halloween photo effects this year.