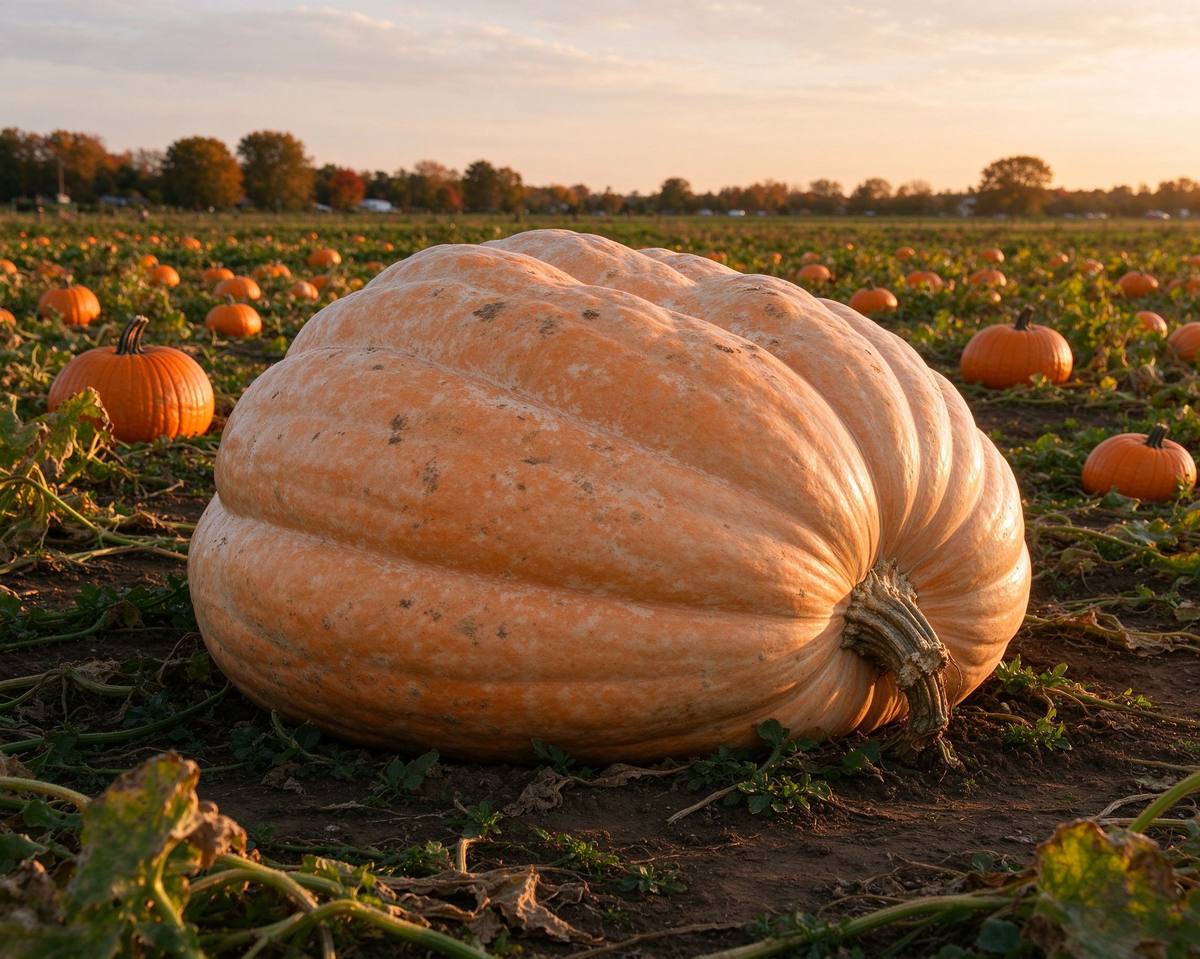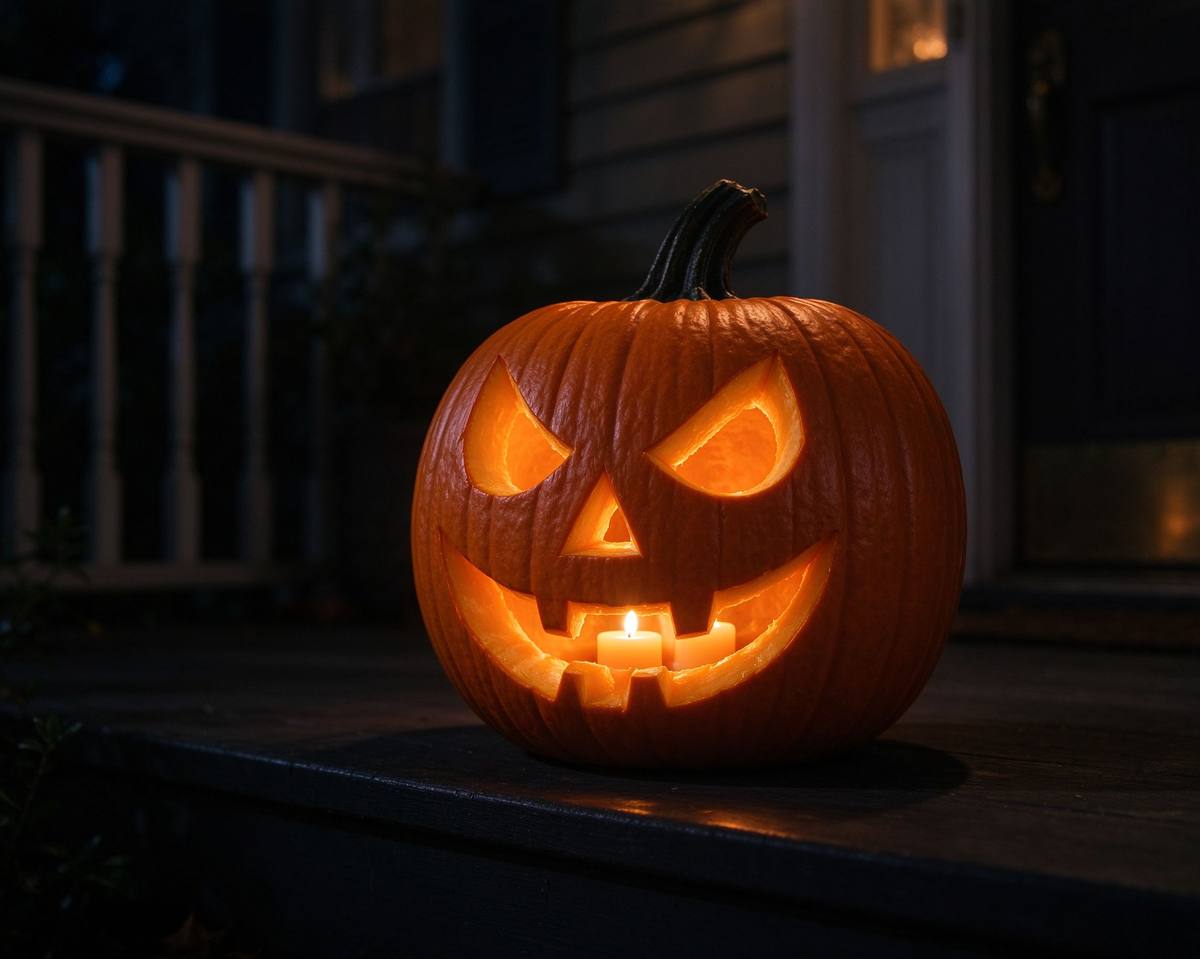
You have probably done this: saved fifty pumpkin stencils to your Pinterest board in mid-October, bought a pumpkin on the 30th, then stared at a kitchen knife wondering why the intricate lace pattern you pinned is really meant for advanced carvers with years of practice. That gap is real. Most "free stencil" sites push hyper-detailed designs that require a set of specialty saws and two hours of patience. This guide is for the rest of us: how to pick a stencil you can actually carve, the minimum tool kit, a step-by-step method that does not involve hacking at the pumpkin with a steak knife, and the three tricks that keep your jack-o'-lantern from turning into a slimy mess by November 1.
How to pick a stencil you can actually carve
Stencil difficulty is not about how cool the design looks, it is about the line weight and the number of tiny pieces. Use this filter before you print anything:
- Bold lines, wider than a pencil. Thin lines snap, tear and take forever. A beginner stencil should look like it was drawn with a marker, not a ballpoint.
- Fewer than a dozen separate cut-outs. Each isolated shape (a star inside a cat, five teeth) is a separate cut and a separate thing that can crack off.
- Connected shapes beat floating shapes. A face where the eyes, nose and mouth are linked by a single outline is structurally stronger than a design with ten detached holes.
- Match the pumpkin size to the stencil. A large pumpkin (10–12 inch across) fits almost any design. A tiny pie pumpkin (4–5 inches) should get a face with big triangles and no details.
Instead of browsing random sites, our free pumpkin carving stencil generator outputs printable templates sized to your pumpkin width and difficulty level, so you do not waste an evening on a design that was never meant for a beginner. Want to design your own face first? The Jack-o'-Lantern Designer lets you swap eyes, nose and mouth shapes on a canvas and print the result.
The beginner tool kit (about $20 total)
A steak knife is the number one reason pumpkins crack. You are not cutting a tomato, you are sawing through 1–2 inches of fibrous rind. A cheap kit does the job:
| Tool | What it does | Cheap alternative |
|---|---|---|
| Serration pumpkin saw (small, fine) | Cuts the lid and stencil lines without cracking rind | Disposable steak saw or a serrated bread knife, used gently |
| Large metal spoon or ice cream scoop | Scoops out guts and scrapes the inner wall thin | Regular kitchen spoon, takes longer |
| Push pin or poker | Pokes stencil dots through the paper onto the skin | Toothpick or needle |
| Permanent marker (dry erase also works) | Draws the face freehand or connects poked dots | Chalk pencil |
| Bowl for guts, paper towels | Things get sticky | — |
Skip the electric drill and the $40 professional kit unless you carve every year. A $6 three-piece saw set from the drugstore covers 90% of designs.
How to carve a pumpkin, step by step
Step 1 — prep and choose the side
Wipe the pumpkin down with a damp cloth and let it dry. Set it on a stable, flat lid or tray. Rotate it and pick the side that is smoothest, flattest and free of deep bruises; that is your face side.
Step 2 — cut the lid from the bottom (yes, the bottom)
Most tutorials tell you to cut a circle around the stem. Carving from the bottom is better for beginners: set the pumpkin upside down, cut a circle in the bottom, scoop the guts out through that opening, and place the pumpkin over a candle or tea light when you display it. The stem stays on, which means less moisture escapes and your pumpkin stays fresh longer. This is the single biggest freshness upgrade in this guide.
Step 3 — scoop and scrape
Scoop out all the pulp and seeds (save the seeds for roasting). Then scrape the inner wall on the face side until it is about 1/4-inch thick. A thinner wall means the design glows brighter when the candle is on. This step takes longer than you think — budget ten minutes.
Step 4 — transfer the stencil
Tape the printed stencil flat against the face side. Poke along every line with your push pin, spacing dots about 1/4 inch apart. Peel off the paper. Connect the dots with the marker. Walk back three feet and look: if the face reads from the doorway, it reads at night.
Step 5 — saw, do not chop
Hold the saw vertically and use long, slow pulls. Let the serrations do the work; pushing hard is what cracks the rind. Start each cut by poking the saw through the skin at a dot. Cut outward from the center of a shape toward an edge so small pieces do not break off mid-cut. When a piece is free, push it out from the inside.
Step 6 — clean up and light it
Trim any ragged bits with the saw edges. Wipe the outside. Put in an LED tea light (not an open flame, which dries the pumpkin faster and is a fire risk on a dry porch). Step back. This is the fun part.
How to keep a carved pumpkin fresh for up to a week
A carved pumpkin wilts because moisture escapes through the cut surfaces and bacteria grows on the wet pulp. You cannot stop the clock, but you can slow it. Four methods, in order of effort:
- Carve from the bottom. Already covered above — it seals the stem and cuts evaporation by half.
- Petroleum jelly on every cut edge. Rub a thin layer of Vaseline on all carved surfaces, the lid rim, and any fresh cuts. It seals in moisture and is the classic grandma trick that still works. Reapply every two days.
- Bleach bath (30 seconds). Mix 1 tablespoon of bleach into a gallon of cold water. Dunk the whole pumpkin for 30 seconds, let it air-dry upside down. This kills surface mold and is the method professional pumpkin displays use. Rinse and dry thoroughly.
- Refrigerate overnight. If you have fridge space, put the pumpkin in a big plastic bag overnight. Cool, dark and humid = slow decay. Do this after the kids go to bed and it looks fresh by morning.
What does not work: hairspray, clear nail polish, and spraying water every morning (it feeds mold). If your pumpkin starts to get soft or moldy, compost it and carve a fresh one — the eco-friendly Halloween guide has more on composting and reusing pumpkins after the 31st.
Frequently asked questions
When should I carve my pumpkin for Halloween night?
Carve on October 29 or 30. An uncarved pumpkin sits fine on a porch for two weeks; a carved one starts declining immediately. Carving too early means a limp, gray jack-o'-lantern by the 31st.
How do I keep kids' pumpkin carving safe?
Let kids do the scooping and the stencil poking (no sharp edges there). Adults do all saw work. For very young children, skip carving entirely and let them decorate a pumpkin with paint, stickers or markers — it lasts longer and looks cute.
Can I carve a pumpkin and reuse it next year?
No — the flesh decays. But you can save the seeds for roasting and for next year's planting, and compost the rind. For decor that does last, pair your porch pumpkin with the ideas in our budget Halloween decorations guide.
中文要点摘要(Chinese key points)
选模板原则:别被 Pinterest 上 50 个精美模板骗了——细线条、超过12个独立镂空、悬空小图形都是给高级玩家的。新手要选粗马克笔线条、图形互相连接、不超过12块镂空的模板,并按南瓜实际大小打印。
工具包(20美元内):细齿小锯(不要牛排刀硬砍)、大金属勺挖瓤、图钉转印模板、马克笔连线、一个碗接南瓜瓤。电钻和 40 美元专业套装每年都刻才值得。
六步雕刻法:擦干净选最平的一面 → 从底部开圆盖(不是从顶部,这是延长保鲜期的最大技巧)→ 挖瓤并把脸那面内壁刮薄到 6 毫米 → 贴纸用图钉戳点再连线 → 竖握锯子慢拉,从中心向外切 → 装 LED 茶蜡(别用明火)。
保鲜四招(按省力排序):从底部开盖 → 所有切口涂凡士林(每两天补一次)→ 1 加仑冷水+1 汤匙漂白粉泡 30 秒杀菌 → 晚上装袋放冰箱。发胶、指甲油、每天喷水都没用。
时间点:10 月 29-30 日再刻,没刻的南瓜放两周没事,刻完的立刻开始衰败。
Pick your stencil and carve
You now know how to choose a stencil that fits, which tools actually matter, how to carve without cracking, and how to keep it looking alive until November 1. Generate free printable stencils sized to your pumpkin, or design your own jack-o'-lantern face on the canvas and print it. When the porch is lit, read our home Halloween party guide for what to do with all those glowing pumpkins indoors.