Pumpkin Carving Stencils
Skip the hunt for a decent template: pick a design, choose your skill level, download a print-ready SVG and carve tonight. Every stencil is generated in your browser — no account, no watermark.
From stencil to glowing jack-o’-lantern
Pick & download
Choose a design and difficulty, then download the SVG. Print it at 100% scale on A4 paper — no resizing, it is sized for real pumpkins.
Transfer
Tape the stencil to the clean pumpkin and trace every outline with a pin or tracing wheel. Dark areas are the parts you cut.
Carve & light
Cut along the dotted lines with a carving saw, scoop the inside, pop in a tea light. Carve 1–2 days before Halloween so it stays fresh.
Freehand carving is how pumpkins get ruined
The number-one pumpkin complaint every October is templates that are impossible to find, too hard to cut, or gone wrong halfway through. These stencils are designed in three difficulty tiers so kids and beginners get a clean win, and experts get detail worth showing off.
How do I transfer the stencil to a pumpkin?
What tools do I need?
How long does a carved pumpkin last?
More pumpkin & party tools
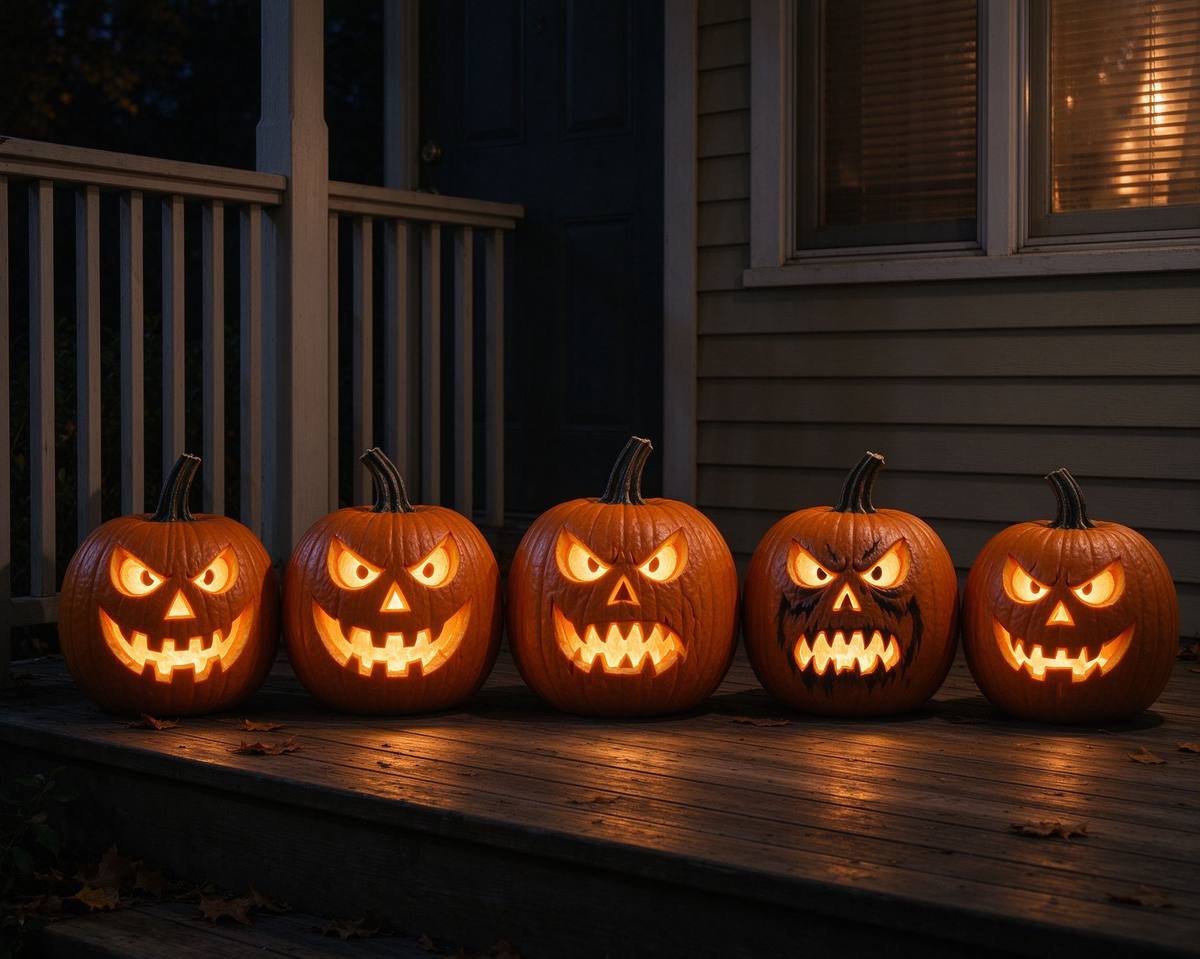 Pumpkin
Jack-o’-Lantern Designer
Design the perfect carved face, then download a print-ready stencil.
Open tool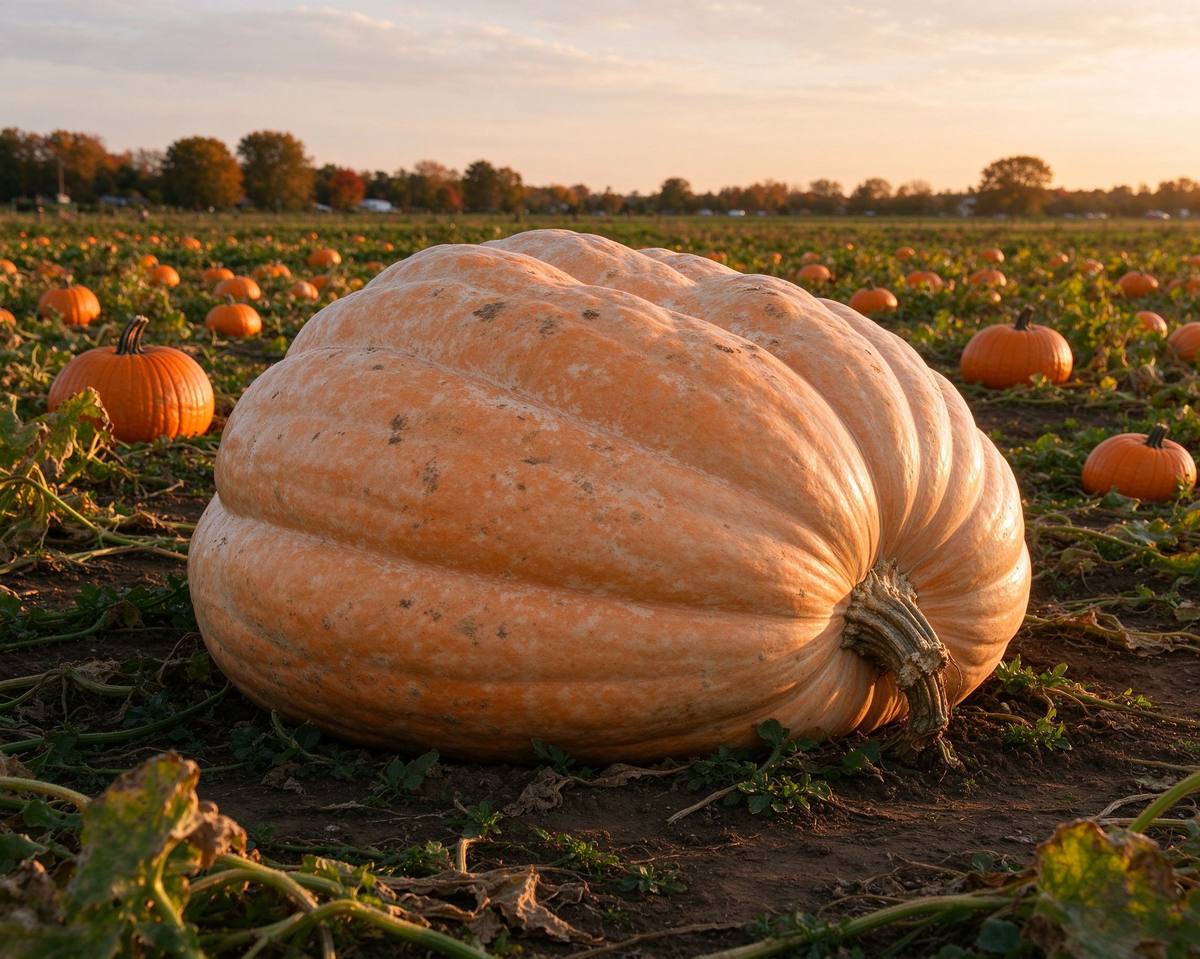 Pumpkin
Pumpkin Weight Estimator
Guess the weight of any pumpkin from its size — farm-stand approved.
Open tool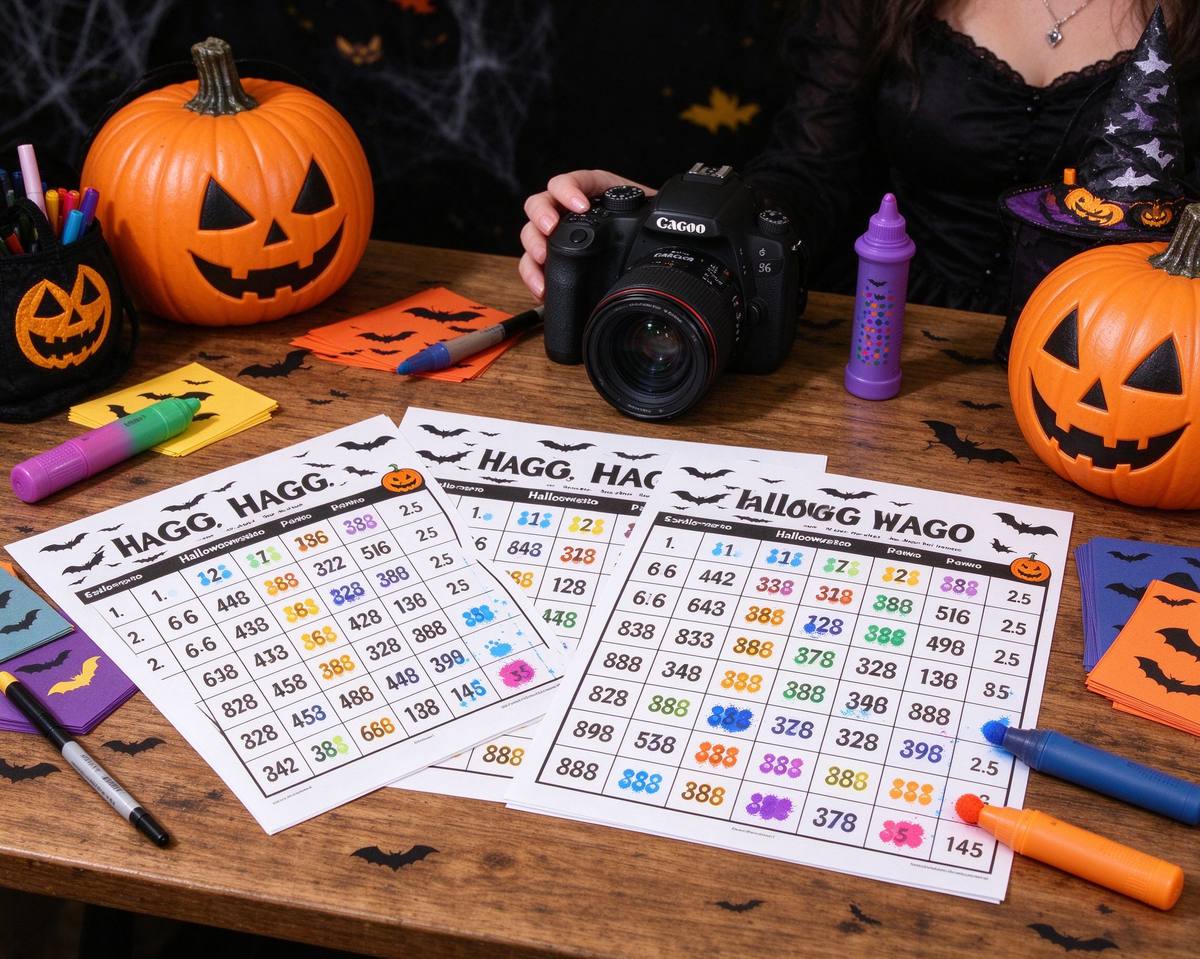 Party
Party
Halloween Bingo Card Maker
Printable bingo cards with spooky words for kids and grown-ups.
Open tool